DIY Turkish Hammam at Home invites you to transform your bathroom into a warm, steam-filled sanctuary and discover an authentic Turkish bath experience that goes beyond a quick rinse. This guide maps a simple path for bringing home spa day ideas to life, using everyday tools to recreate a spa-like ritual. If you’re wondering how to create a hammam spa at home, you’ll learn a straightforward routine that mirrors a true Turkish hammam at home. The process emphasizes heat, cleanse, exfoliate, rinse, and hydrate, while keeping pace slow and mindful to match the Turkish bath ritual at home. With patience and practice, this DIY experience nourishes skin, calms the mind, and easily fits into busy schedules.
Think of this as a steam-infused cleansing routine rooted in the Turkish bath tradition, adapted for a home setting rather than a spa studio. A hammam-inspired method emphasizes heat, cleansing, exfoliation, and hydration with simple tools, creating a spa-like atmosphere that echoes ancient bathhouse ceremonies while remaining practical for modern life. This approach fits into broader wellness routines as a mindful self-care ritual, offering a fragrant, cozy home ambience and skin-friendly benefits without needing a dedicated steam room.
DIY Turkish Hammam at Home: A Step-by-Step Path to an Authentic Experience
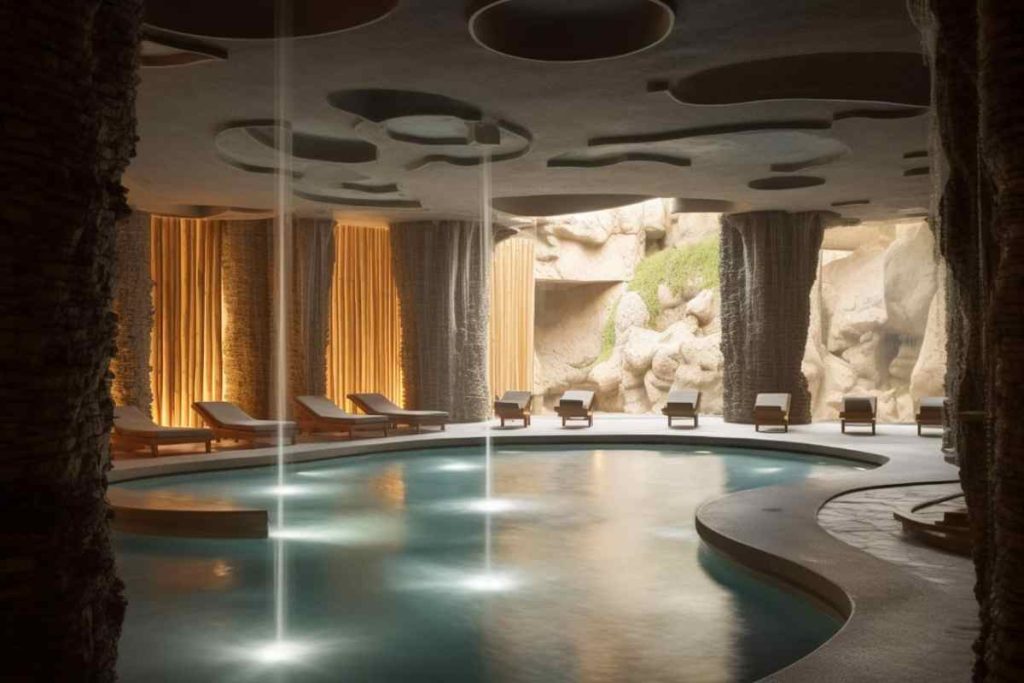
Start by zoning your bathroom into a warm, welcoming sanctuary where steam hangs like a soft veil. Dim the lights, light a gentle diffuser, and drape a pestemal over the radiator to trap heat close to your skin. In this DIY Turkish Hammam at Home, you’re not just washing—you’re stepping into a rhythm that mirrors the ancient hammam tradition, turning ordinary moments into an authentic Turkish bath experience.
Gather the core tools: a kese exfoliating mitt, sabun black soap, a bottle of argan or olive oil, and a warm, damp towel. With these items at hand, you can begin to learn how to create a hammam spa at home, following a gentle sequence that respects your skin and your time.
Setting the Scene: How to Create a Hammam Spa at Home with Atmosphere and Aroma
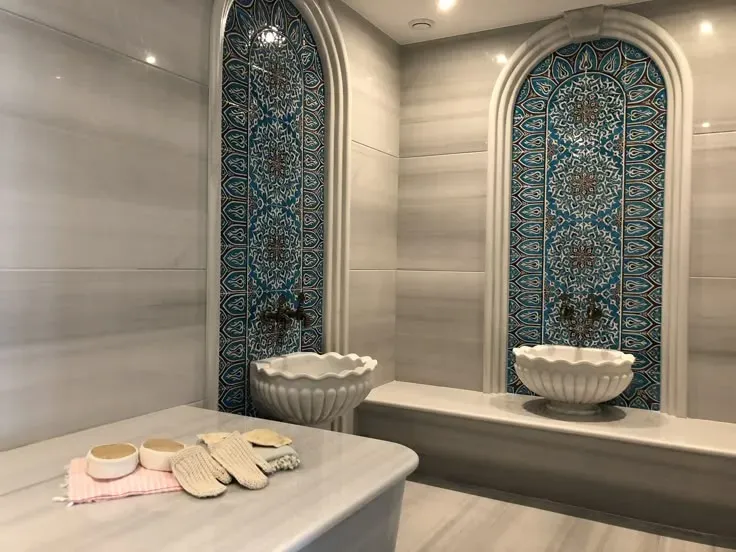
Set the scene with a calm, quiet space. Close the door, block outside noise, and layer textures—soft terry, warm stone-inspired decor, and a humid air that invites comfortable heat. This is where home spa day ideas become tangible: a planned ritual you can repeat weekly or on a lazy Sunday.
Let scent guide the mood: a few drops of eucalyptus or rosemary oil in the steamy air, while you adjust the temperature to a comforting warmth. The goal isn’t to scorch, but to create a hammam-friendly humidity that supports skin to open pores and accept hydration, an essential part of how to create a hammam spa at home.
The Ritual Sequence: Heat, Cleanse, Exfoliate, Rinse, and Hydrate for a Turkish Bath Ritual at Home
In this sequence, warmth comes first. Stand in the steamy space for several minutes, letting the heat loosen tension and soften the skin, while slow breaths anchor your focus. The feel of steam on the skin and the hush of the bathroom create an authentic Turkish bath experience right at home.
Then cleanse with sabun, exfoliate with kese, and rinse with warm water. The ritual’s cadence—heat, cleanse, exfoliate, rinse, hydrate—helps you slow down and truly savor the moment, a key feature of the Turkish bath ritual at home.
Tools and Products that Power Your Home Spa Day Ideas
Choosing the right tools matters as much as the ritual itself. The kese’s textured grip and sabun’s olive-oil base are iconic, giving you the feel of a real hammam without leaving your home. Stock up with a Rhassoul clay optional, and choose lightweight oils to seal moisture.
Look for affordable, authentic products that suit your skin—natural ingredients, minimal fragrance, and clear patch-test instructions. When you align tools with routine, your sessions become consistent, rewarding, and truly part of your home spa day ideas.
Safety, Adaptations, and Personalization for a Gentle Turkish Hammam Experience
Safety is the foundation: never exceed comfortable heat, never scrub too aggressively, and hydrate after every session. If you’re pregnant, have sensitive skin, or deal with medical conditions, adjust heat, duration, and exfoliation accordingly to protect your well-being.
Personalize the ritual by swapping scents, adjusting pressure, or lengthening a session. Create a lighter version for busy days or a longer, deeper retreat when you need total renewal. This adaptability is what makes the Turkish bath ritual at home approachable for beginners and a comforting tradition for seasoned practitioners.
Frequently Asked Questions
How can I start a DIY Turkish Hammam at Home to create authentic home spa day ideas?
Begin by choosing a quiet bathroom and creating a warm, humid environment. Gather core tools: a pestemal towel, kese exfoliating mitt, sabun (black soap), Rhassoul clay (optional), a light oil (argan or olive), extra towels or robe, and a non‑slip mat. Start with 5–7 minutes of warmth and slow breathing, then cleanse with sabun and rinse. Exfoliate with the kese, rinse again, and hydrate with oil. Optionally finish with a clay or hydrating mask and rest wrapped in a robe. A DIY Turkish Hammam at Home session can be as short as 20–30 minutes or as long as 60–90 minutes for a deeper authentic Turkish bath experience.
What equipment do I need for an authentic Turkish bath experience in a DIY Turkish Hammam at Home?
For an authentic Turkish bath experience at home, assemble: pestemal towel (heat-retaining wrap), kese exfoliating mitt, sabun (black soap), Rhassoul clay (optional), oils (argan, almond, or olive), extra towels and a robe, and a reliable steam source (hot shower or humidifier) plus a non‑slip mat. Optional extras include a mild hair mask and a natural body scrub. This setup helps recreate the ritual at home with comfort and safety.
How do I perform the Turkish bath ritual at home using sabun and kese during a DIY Turkish Hammam at Home?
Follow a simple sequence: 1) warm the space and breathe deeply for 5–7 minutes; 2) wet the skin and apply sabun to create a gentle lather; rinse thoroughly; 3) soak the kese and exfoliate in small sections with light‑to‑moderate pressure in circular motions; 4) rinse again; 5) pat dry and apply a few drops of oil to seal moisture, massaging in slowly; 6) optionally apply a clay or hydrating mask and rinse; 7) rest wrapped in a robe and rehydrate. This mirrors the Turkish bath ritual at home while staying safe and comfortable.
How can I adapt a DIY Turkish Hammam at Home for sensitive skin or small spaces while staying true to the Turkish bath ritual at home?
Adaptations include using a milder sabun and gentler exfoliation, shortening the exfoliation step, and opting for lighter oils. In small spaces, rely on a warm shower and a humidifier to maintain humidity, and avoid aggressive heat. If needed, skip Rhassoul clay or limit products to essential steps, focusing on warmth, cleansing, and hydration. Always patch‑test new products and listen to your body to preserve the Turkish bath ritual at home without irritation.
How long should a typical DIY Turkish Hammam at Home session take, and how often should I schedule it as part of home spa day ideas?
A baseline session can take 20–30 minutes, with a fuller hammam‑style ritual extending to 60–90 minutes for a deeper experience. For ongoing benefits, aim for 1–2 sessions per week as part of your home spa day ideas, adjusting frequency based on your schedule, skin type, and how you feel after each ritual.
| Key Point | Summary | Practical Tips |
|---|---|---|
| Goal | Transform your bathroom into a warm, steam-filled hammam-inspired sanctuary; it’s a ritual for body and mind rather than a quick wash. | Set mood with warm lighting and humidity; prepare tools ahead of time. |
| Core Sequence | Heat → cleanse with sabun → exfoliate with kese → rinse → hydrate; optional mask; rest. | Follow steps in order; adjust heat/time to comfort. |
| Tools & Products | Pestemal/towels, non-slip mat; sabun (black soap); kese; Rhassoul clay (optional); oils; steam source; aromatics. | Choose gentle, skin-friendly options; patch-test new products. |
| Setting & Atmosphere | Quiet bathroom with simple elements to evoke bathhouse ritual. | Use warm lighting, natural textures, and soft fabrics. |
| Customizations | Adapt for skin type, pregnancy, or medical conditions; adjust heat/duration. | Opt for milder exfoliation for sensitive skin; more hydration for dry skin. |
| Duration & Schedule | Ritual can be 20 minutes to 90 minutes; can be a recurring routine. | Start with 20–30 minutes; expand as desired. |
| Outcomes | Renewed skin, relaxation, stress relief, mindful practice. | Pair with calming playlist and herbal tea for enhanced ambience. |
Summary
DIY Turkish Hammam at Home invites you to slow down and experience a spa-like ritual that blends heat, cleansing, and mindfulness in your own space. This descriptive overview guides you through setting the scene, selecting simple tools, and following a deliberate sequence of cleansing with sabun, exfoliating with kese, and hydrating with nourishing oils. The hammam atmosphere relies on patience and rhythm: gentle breaths, measured heat, soft textures, and soothing aromas. When you follow the steps and adapt to your skin type and schedule, you can recreate a deep sense of renewal that mirrors a professional bathhouse while staying accessible at home. The core ritual—heat, cleanse, exfoliate, rinse, hydrate—creates a cadence that supports skin health, stress relief, and a calm, mindful state. Incorporated into weekly or monthly routines, the DIY Turkish Hammam at Home becomes more than a treatment; it evolves into a restorative ritual that nourishes well-being and a balanced lifestyle. Embrace the process, customize intensity, and savor the authentic hammam spa experience in your own home.